I will show you how I made my Halloween Mummy. There are some things I could have done better - maybe you can improve upon my design.
Materials: A
styrofoam head from Michael's or Diddams. Cost about $7.00
 |
| The head does not need to have features. |
PVC Pipe Cutter: this makes cutting the pipe so easy.
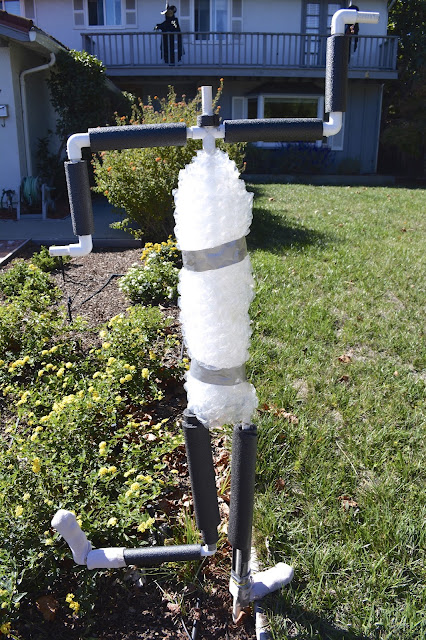
A design on paper - it helped me anyway. The circles are where I'll need PVC elbow joints plus two cross joints for the torso.
 |
| I was going for the Egyptian dance look - it works great within the limitations of PVC pipe. |
PVC Pipe,
elbow joints and crosses: found at Orchard Supply or Home Depot or Lowe's.
I also bought PVC pipe insulation but if I had to do it again, I would just use a lot of bubble wrap.
 |
| The PVC and joints cost me less than $10. |
My proportions were a little off, and after I installed the mummy, I had to go back and remove a section of pipe from the torso because it was too long.
Note the very long right (our right) leg - it goes past the foot because I also used it to stake the mummy into the ground. I ended up widening the hips and adding another pipe to the middle part of the lower T joint. It needed the support. If I had to do it again, I would start with a PVC pipe in the middle as my stake and not use the leg. Use black spray paint on the support stake, that way no one will notice it at night.
I'm not going to list the dimensions I used because I don't think they're quite right; you can probably do a better job.
Bubble wrap - get lots of this, it is the padding for your mummy. Mine is on the skinny side, you may want to add a lot more bubble wrap. I secured it with masking tape and duct tape (what would we do without duct tape??).
 |
| Wait until your mummy is staked in the ground before adding the PVC insulation and bubble wrap. |
Old sheets and cheesecloth torn into strips - make cuts in sheet about 2 inches apart. Then tear the sheet into strips. Do not worry about being neat, this is a mummy after all! I used two full sheets for my mummy, you may want to use more. You would need an awful lot of cheesecloth if that's all you used to wrap your mummy. I saved my cheesecloth for topping off the final product.
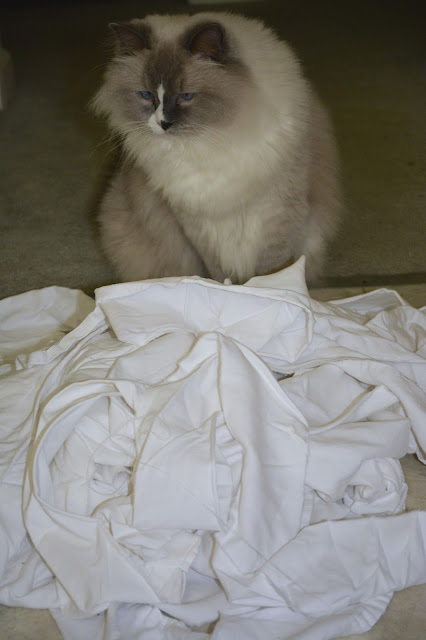 |
| A little supervision from the cat (sorry, I couldn't resist the photo). |
Dye the torn sheets and cheesecloth - in a large pot of boiling water and teabags; although, I found that filling the pot with hot coffee worked best. I think you must need a ton of teabags to make the process work well. I soaked the sheets for half an hour. Then I hung them outside to dry.
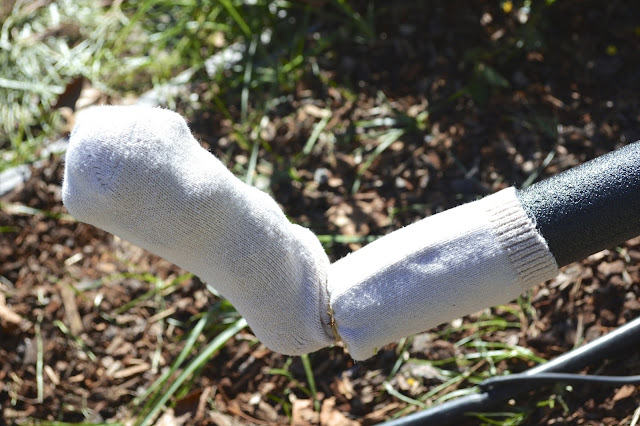
Socks and Gloves - for the feet and hands. I stuffed the feet and secured them with tie wraps and duct tape to the poles.
 |
| This foot is secured to a straight pole - there is not an additional pipe or joint here. |
 |
| I inserted a stick into the sock to help keep its form. My daughter pointed out that this foot was upside down! Doh! |
I found some old gloves from a past Halloween costume, and lightly stuffed them with craft stuffing. I think latex or medical gloves would work just as well but it depends on the size of your mummy.
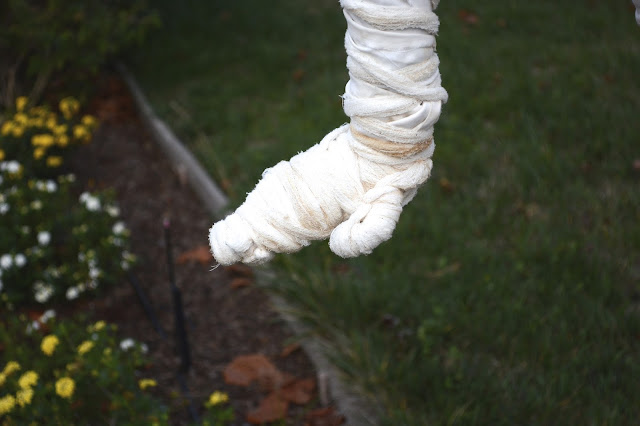 |
| I used an elbow joint and inserted a stick to help keep the hands' form. |
 |
| I found it impossible to wrap each individual finger but I could wrap the thumb and do the hand mitten style. |
Wrap your mummy - I do not have a technique to recommend, just do what you can. Some of my sheets stayed pretty white. I was able to cover most of them with the browner sheets, but I finished wrapping in the dark and didn't notice I hadn't covered all of them. No matter, the contrast does not show up at night.
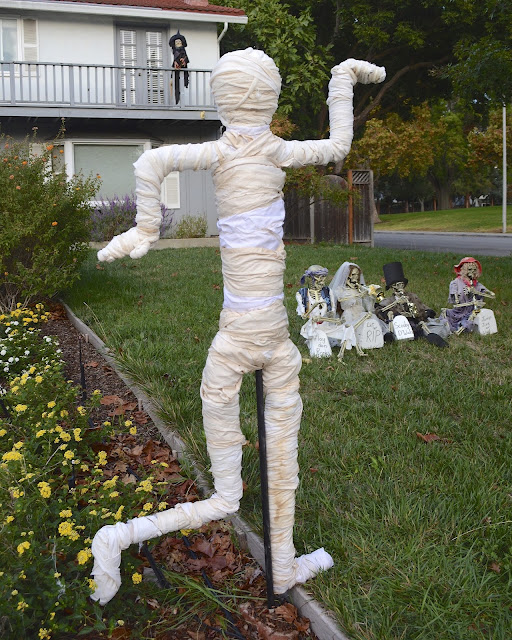 |
| "Dance like an Egyptian . ." |
The wind kept spinning my mummy around, so I looped a wire hanger around the left leg and secured it to the ground.
The mummy looks really cool at night, but I didn't take a photo. Until I update this blog, here is a black-and-white photo to give you an idea of how it looks at night.
Happy Halloween!


